
This will not be a complete guide how to start tranining cycling at home, but rather a set of observations and conclusions, reflecting my view on AMATEUR cycling training equipment.
You can spend thousands and thousands of dollars/euros on equipment that you will not ever use, or will not use in more than 10% of its capability. In my opinion, especially at the very beginning of your adventure in indoor cycling you should find a good balance between price and performance parameters, so that you will put your money where its needed, to save for some features that will make the time on the trainer less painful.
Must haves:
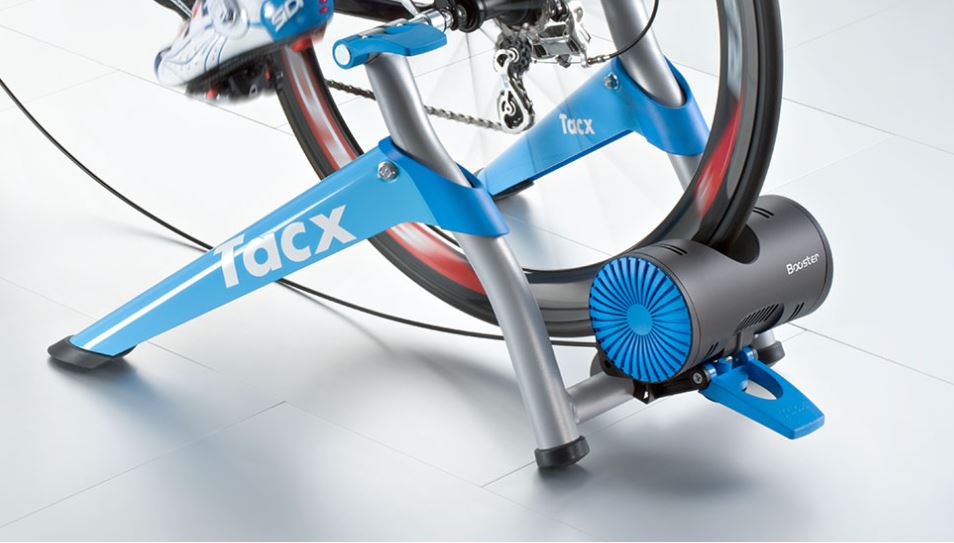
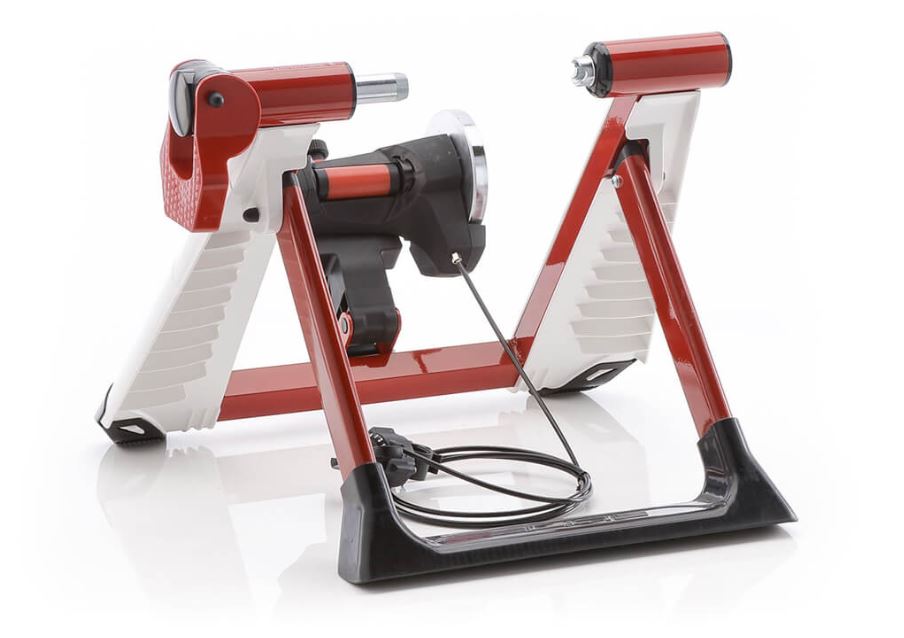
(Turbo) Cycling Home Trainer
There are probably million models that you can choose from. There are also million guides/Youtube videos about selecting the perfect trainer. But coming down to the very basics – what do you actually need and what is just an extra?
Simply put – the trainer has to be stable when the bike is locked into it, so that you not fall on the ground with it during your first sprint. Sit on one at least with a bike locked into it and check if you feel confident when simply riding on it. Are you ok with its behaviour when you sprint or put more power on the pedals. When you’ve sprinted on it for 10 seconds, did it move on the floor? Check if it will not damage your flooring.
It musn not be too loud. Believe me, you do not want another washing maschine in your flat/garage. It’s just purely annoying. Get one with decent bearings and no too loud brake, that will not make you throw the trainer into the bin after the first training session.
It has to have a reasonable load regulation. What does it mean “reasonable”? Strong enough to allow you reach your desired heart-rate and/or power on the pedals. With a bit of space when you will get stronger. Anything around 600-700W should get you started. As with everything – when you get better, you can get a new one. Do not invest in an intelligent 2000W monster with electrical load, if you don’t know yet if you will like to traning in this way.
A simple suggestion is to get a basic, sturdy Tacx or Elite trainer. Doesn’t have to be from the latest collection. Or visit your local Decathlon or local bike store to get a feeling on the one you will spend a couple of hours in the next weeks.
Optionally, borrow one from a friend or lend at your local bike store for the season. This kind of service is getting popular and will let you enjoy your first season on a trainer, without fear, that you will end up with a piece of junk at home.
Towel or Frame Cover
These get useful quite quickly, if you’re not planning just to sit on the rig and watch TV (that would be an odd and uncomfortable option though). When you make an effort and want to keep up with scheduled traning session you have to be ready that a drop or two of sweat will appear. Even when traning in your garage at 0 degrees Celsius.
There are two basic solutions to this problem – mostly depending on the fact if you do mind taking your hands off the bar during the ride. Or rather if you have time to do so – during intensive sessions with prelonged high-effort intervals there may bo no sufficient time even to reach for the towel. And the last thing you want to have at the end of the home training season is a rusty and full of salt stem area.

One prefer to have the towel, one to protect the bike with a frame cover, some even use both. Pick your prefered solution.
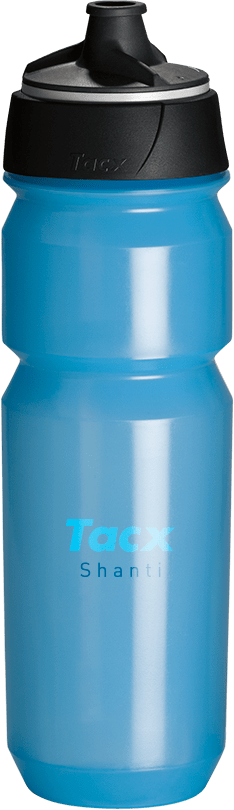
Bottle of water
Keep it simple – a bottle of water, isotonic drink or whatever else you like. Attached to the frame as you would be riding on the outside, if you like to simulate outdoor conditions more accurately., or in reach of your arms.
Heart-rate sensor
Chest-mounted or a on your wrist. If you want to make it cheap and easy, get a pedometer with a heart-rate measurement function. Or a smartwatch. The only limitation is that it has to be able to measure your heart-rate constantly and you have to be able so see it constantly, without touching the it constantly. You want to focus on the training and not on your devices.
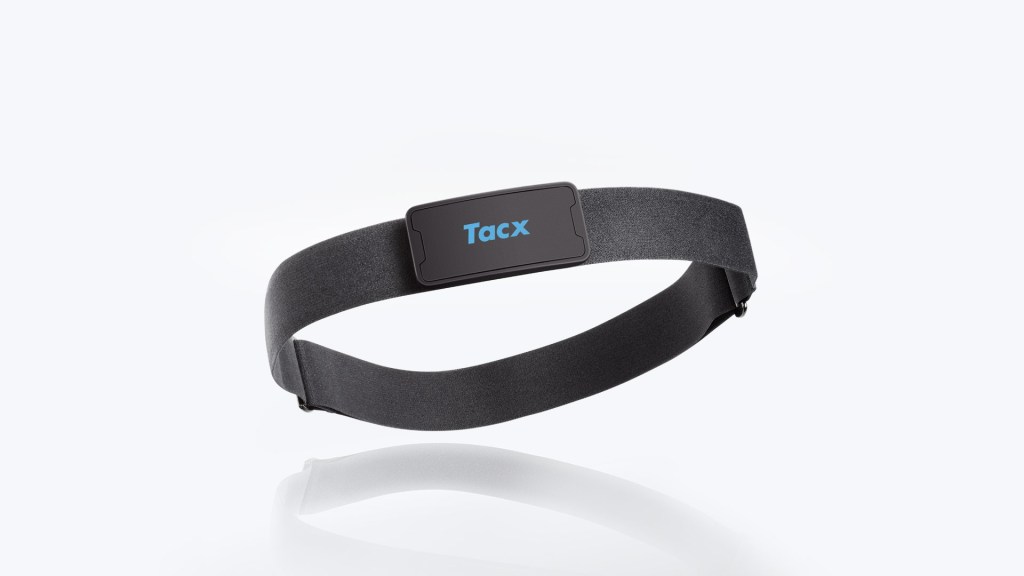
Chest mounted devices are considered to be more accurate and react to changes in heart-rate quicker, but they will require an additional device which will be able to display the measured heart-rate in real time. Not every device is able to do this well, so spend some time researching the topic. Generally speaking, Garmin and Polar smartwatches are considered to be the golden standard in this niche. But as you may have seen already common electrinics manufacturers like Samsung and LG, as well as many Chinese manufacturers are trying their chances here as well.

Sheet of paper with today’s training
Print/write down your today’s training. That’s it. How much time, at which heart-rate (goal or a range). Put it in front of you or simple use a bit of duct tape and attach it to your stem or bars. And then stick to it when you start pedalling.
Options – not neccessary, but give higher comfort
Mat for under the trainer
A trainer mat protects your floor and muffles the noise of your indoor training sessions. When you pedal hard a lot of vibrations and noises come out of the trainer. You can also sweat a bit. Also you may want to move the whole traning rig with the bike locked in the trainer – this helps to do it without much problem and the need to disassemble them.
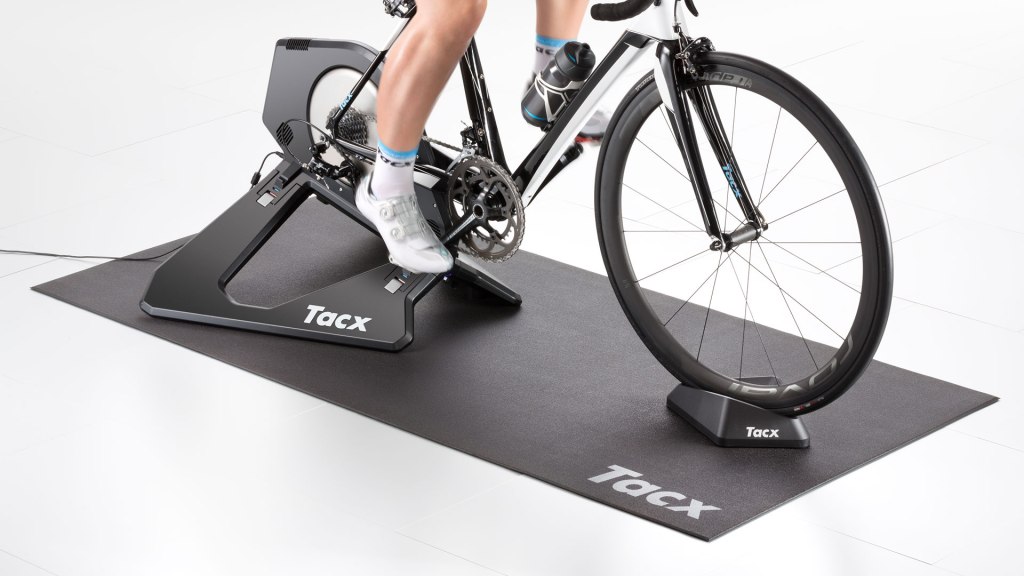
If a dedicated mat is not an option for you, consider at least to put a yoga mat under it. It will serve the same purpose, but at a much lower cost. It will allow you also to clean the space under the bike effortlessly.
Power meter
We’re getting a bit expensive here, but hell… this is the “Options” section, isn’t it?
A power meter – one sided, two sided. Different manufacturers have their own solutions for their execution. Expensive, more expensive and super expensive. But to be fair, the prices are slowly going down and the technology is getting more and more affordable.
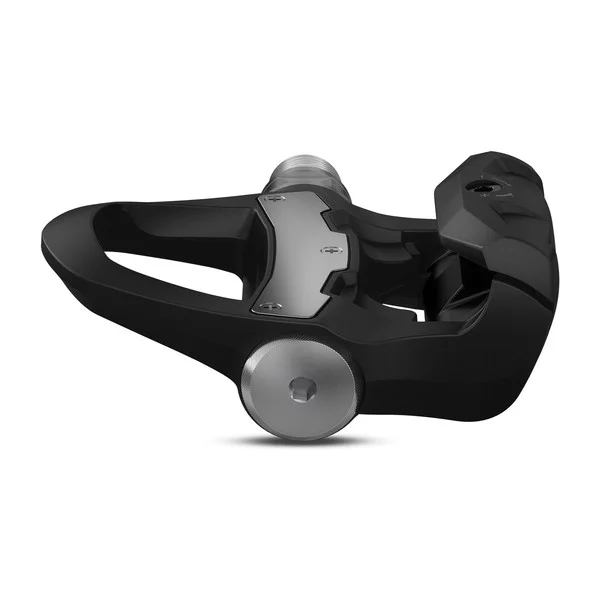
If you know already that you are going to stick to cycling traning for a while, definately worth considering. But because of very fast pace of these solutions development and growing number of review around the internet consider researching deeper before you decide to buy one and not get disappointed with the results.
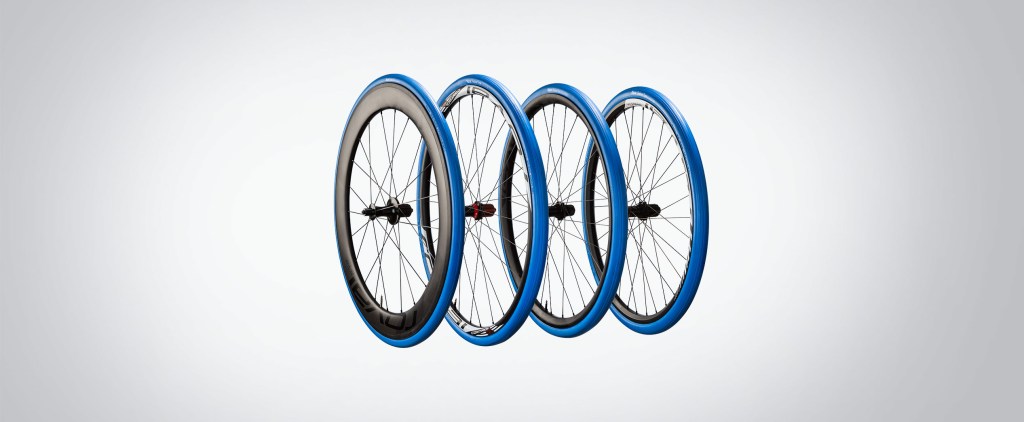
Trainer tyre
You may not know but there are dedicated bike tires for indoor trainiers. Not that you cannot use the regular, black tires on the trainers, but using special ones has their benefits. These are usually not suitable for using on the outside, as they are made from special types of rubber, much thicker on the rolling side of the tyre and they lack the typical tyre thread.
In case of road bikes these may not seem extremely useful, as we you are riding already on a slick or near-slick tyre, so the difference will not be tremendous. If you do use expensive, light racing tires you may find these useful though. When you want to use the trainer with a mountain bike on the other hand they are nearly a must. A tyre with a lot of knobs and thread will be very loud when used on a home trainer. A dedicated tyre will increase the comfort a lot – mostly in terms of noise reduction, proper traction and reduction in tyre wear.
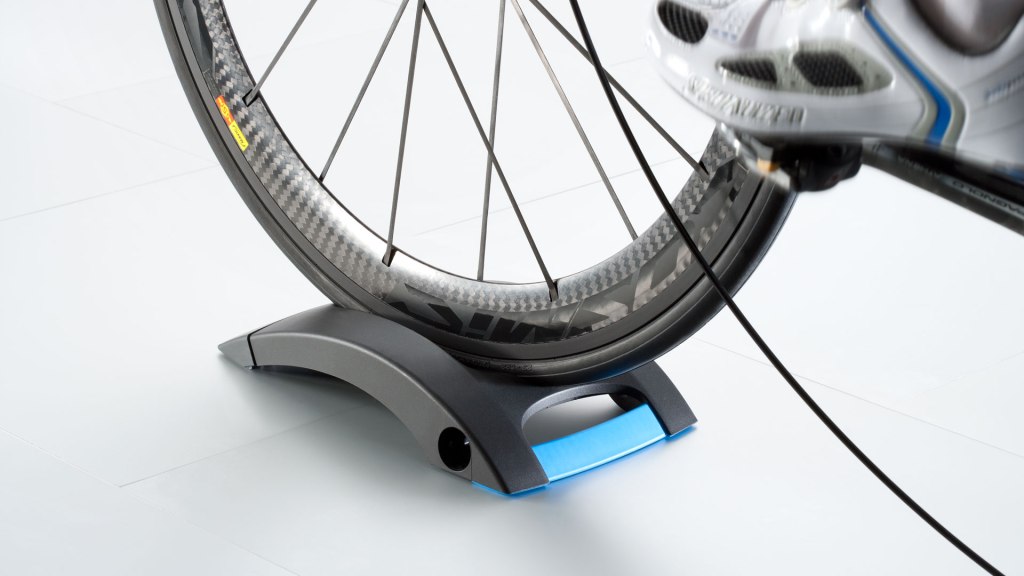
Block under front wheel
When you start using the home trainer you may notice some discomfort, usually connected with the hands or saddle position. This is especially true for road bikes, as you go to the low bar hand position.
When the bike is plugged-in to the trainer its rear wheel is usually lifted by a few centimeters above the ground. This automatically means that the front of the bike is located lower, together with your centre of gravity being pushed to the front. This leads to increased load on the hands and front of the saddle, causing discomfort.
A simple remedy is a small (metal, wooden, etc.) block put under the front wheel, to get the bike back in the correct position. The block size has to be as close as possible to the distance of the rear wheel to the ground. Do not use a book if you thought of that, bastard!
There is a dedicated solution for this problem from most of the trainer manufacturers already:
Cadence sensor / Speed sensor
The possible measurements you can get from each ride are not limited only to the heart-rate or power measurements. If you fancy a lot of numbers and data and think you can get something good out of this, just add additional sensors to your setup.
The most common ones are cadence and speed sensors. They both work the same way, showing the revolutions of the crank or the wheel in time. There are multiple solutions on how to achieve these measurements – from simple, magnet based ones, to complicated systems comparing the measured values with GPS data. Also the mounting options differ between manufacturers and solutions.
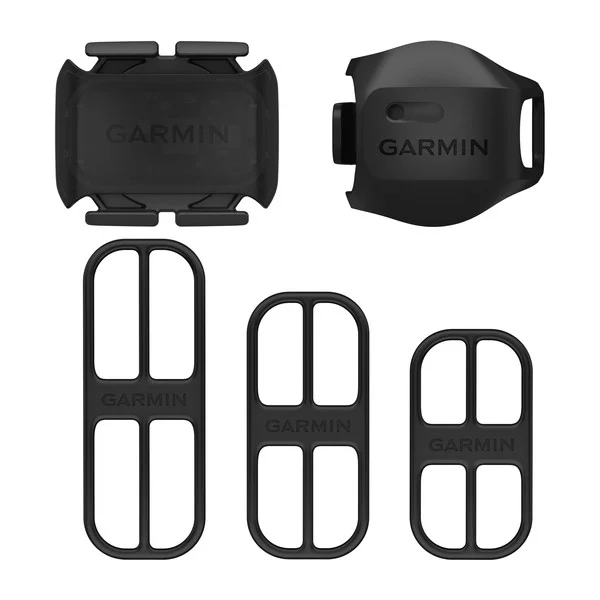
At the end – before you buy a set of additional sensors – be sure to check if you have a device that can handle the data coming from the sensors. Some smartwatches do allow to add additional signals for example, but require to be sent via proper protocols to them. Most sensors communicate using ANT+ or Bluetooth protocols (or both), but most of the common electronics can handle only the latter one. And support only one device to be connected at the same time.
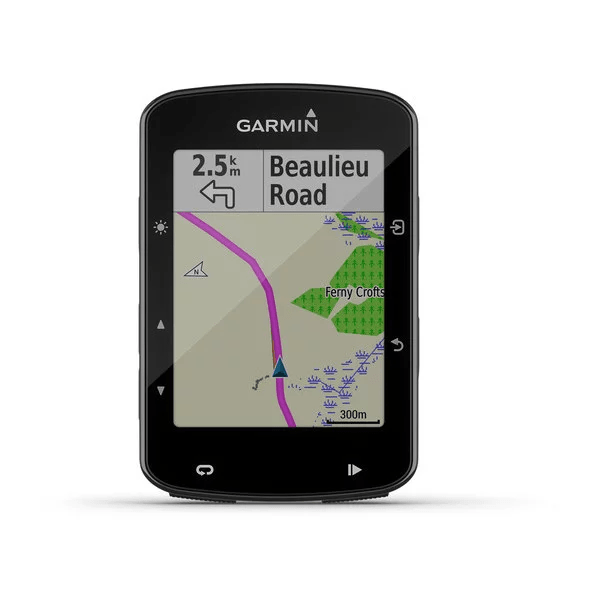
Intelligent cycling computer
As mentioned in earlier paragraph, if you are planning to add additional sensors to your bike setup, you will need a device to connect to them are read-out the data. In cycling world this device is an cycling computer. There are simpler and more advanced versions of these, but they generally serve the same purpose – to gather and display your riding data in front of you, without the need to look at your wrist or reach to your pocket for the phone.
You can use of course a dedicated phone mount and use your mobile device to navigate and display the data, but to get all the features and decent battery life a separate device designed for this purpose is advised. The market is full of different solutions, from a simple 50€ devices with limited capabilities, up to units equipped with GPS navigation, electronic shifting and even electronic home trainer control.
Two main manufacturers of such units are Garmin and Wahoo, with recent introduction of Android based Hammerhead unit.

Laptop/tablet stand
This is the luxury option nearly – a separate stand for your phone or tablet. There are some training programs on the market for example, that require or rather offer you a chance to see the route (digital, recorded image, etc.) you are riding currently. If using Zwift of Kinomap for example such mount allows you to comfortably navigate through the menu of the software and make changes and selections while on the bike.

You may have noticed a lot of Tacx and Garmin equipment shown above. None of the links above are affiliate links or in any way am I connected to this company. I just find them to be a golden-mean between the price, quality and service. Their range of course in much wider and they provide much more advanced and more expensive devices, but for a statistical amateur their basic offering should be more than sufficient.
Cover photo courtesy of Gemma Evans on Unsplash
